How IP Camera Prototyping Reduces Development Risk
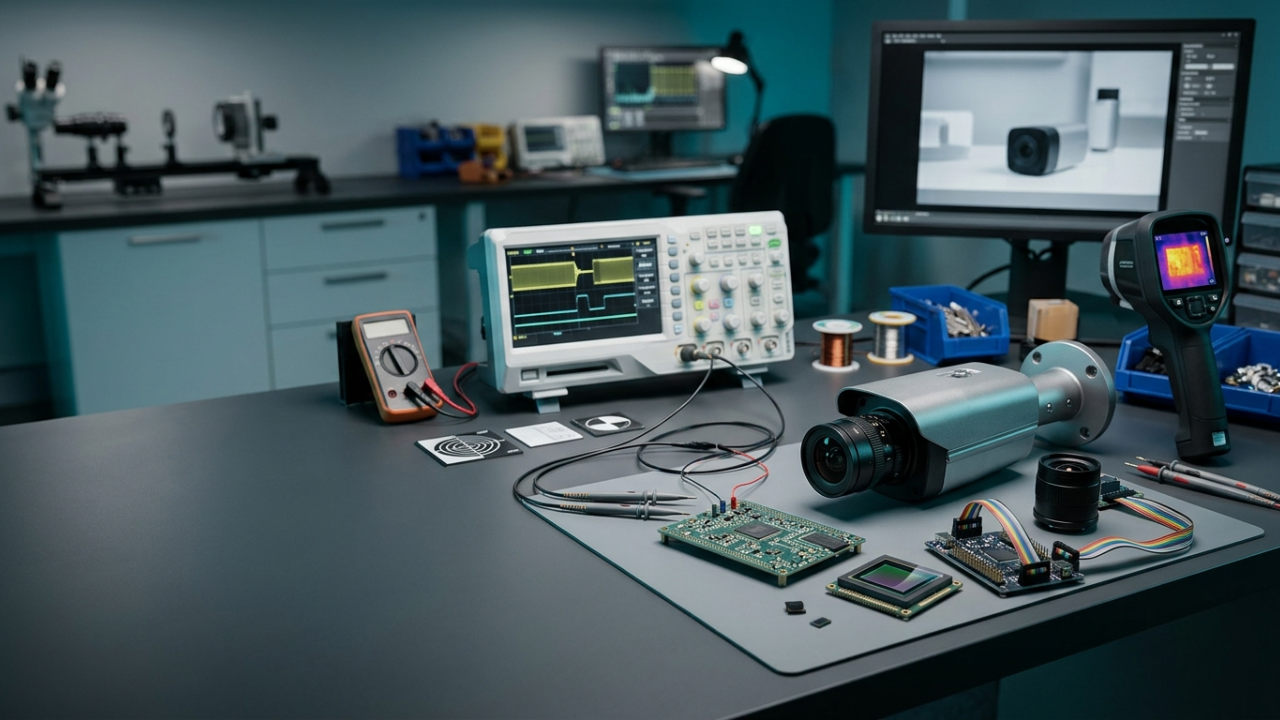
According to a NIST study, software errors cause a loss of up to $59.5 billion a year to the US economy, and a better testing process can save more than 30% of this loss. The risk is greater for connected cameras because, besides sharing the same vulnerabilities, they have optical and silicon components which cannot be fixed after production. Prototyping of IP cameras allows detecting the problem at a stage where it can be fixed within days and not after changing the board. This is a core part of camera design engineering, where hardware, firmware, imaging, and validation are developed as one connected workflow.
Why IP Camera Prototyping Matters Before Full-Scale Development
The development of an IP camera is risky in four areas at one time: optics, electronics, software, and networking. A functional prototype allows the developers to test all these areas before proceeding with production.
Identifying Technical Constraints Before Finalizing the Design
The datasheet talks about the component in isolation. However, with the prototype, you learn about the interactions between all these components. The team may choose a 4K camera sensor along with an average system-on-chip and realize that memory bandwidth would not be sufficient to carry out the processing of two streams of data along with analytics. Limitations such as this are found in the first week of prototyping of the IP camera.
Testing Critical Product Assumptions With Working Hardware
All product plans depend on certain assumptions about the performance in darkness, field of vision, or stream latency. Spreadsheets do not verify these assumptions. A prototype placed in an actual parking lot or warehouse does. When developing IP camera products, the teams who use hardware testing turn assumptions into hard facts. The product managers also have facts about requirements trade-offs prior to any interaction with the customer.
Reducing Expensive Changes During Later Development Stages
Cost increases at each step along the way. The replacement of a sensor at the beginning of evaluation can take days. Replacing a sensor once the enclosure tooling and certification process has started will take months. IP camera prototype development places the discovery process in its least expensive stage. The engineering executives also benefit from having a defensible timeline because the unknown risks have been played out. Many of these issues are avoidable when teams understand the common mistakes to avoid in camera hardware design, including interface mismatches, layout errors, and thermal oversights.
How Camera Hardware Prototyping Reveals Design Problems Early
Camera hardware prototyping turns schematic assumptions into measurable real-world results. Three things must be considered right away: compatibility of parts, board layout, and power and heat.
Checking Sensor, Lens, and Interface Compatibility
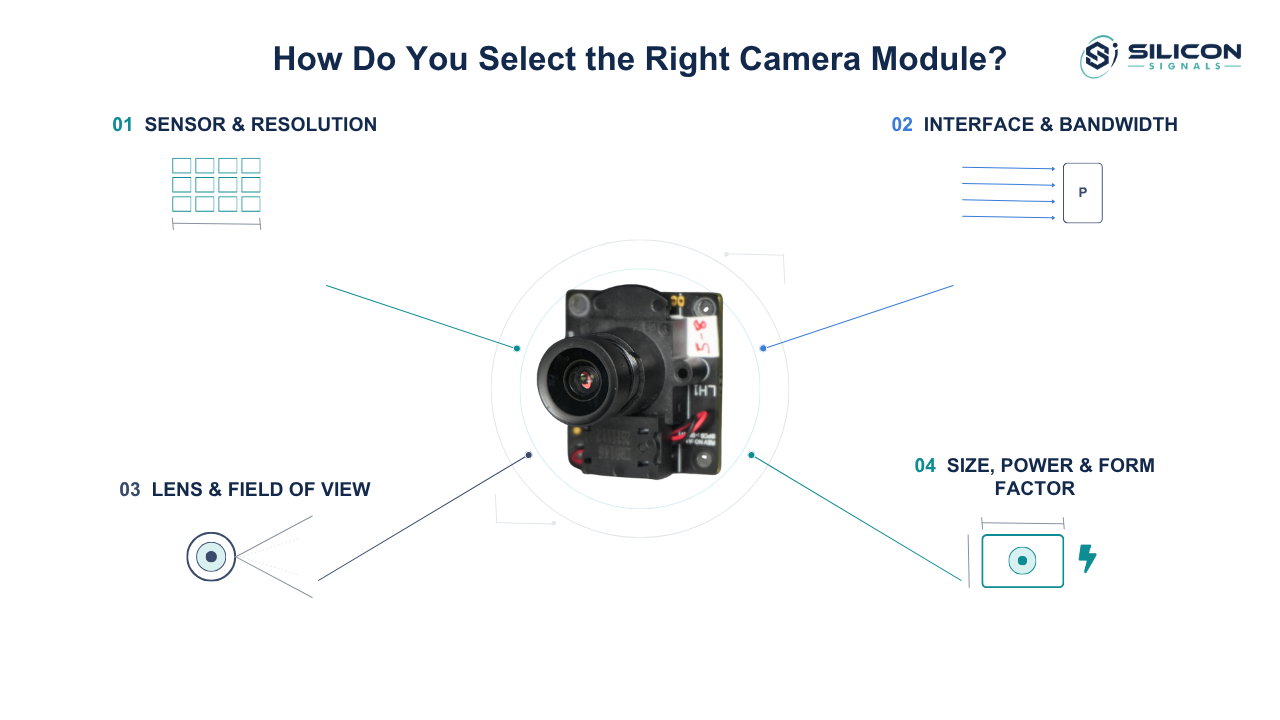
A sensor and lens should have compatible image circle, chief ray angle, and mount tolerance. This will be evident by color fringing or soft edges that can never be corrected completely through tuning. Compatibility is also required for the MIPI CSI-2 interface connecting the sensor and the processor, which includes lane count and data rate compatibility. With camera hardware prototyping, engineers are able to test these combinations using actual modules and confirm that the ISP supports the sensor mode.
Detecting PCB Layout and Signal Integrity Issues
Fast traces bring challenges that schematics do not reveal. Mismatches in differential skew in MIPI lanes, DDR trace lengths, and a noisy analog power rail close to the camera module can create intermittent artifacts or random resets. Prototype camera hardware on an early spin with test points is useful for testing the eye diagrams and measuring rail noise. A marginal DDR timing issue found during prototyping can require a board layout revision.
Measuring Power Consumption and Thermal Behaviour
Commonly used power figures do not typically represent the worst case scenario. Take measurements for the current drawn during boot time, when streaming in full resolution, when there is infrared illumination, and when the heater is powered on, if present in the system. Thermocouples should be placed close to the processor and sensor, and testing should be performed in an enclosure at the upper end of the rated ambient range for the system.
How Software Prototypes Reduce IP Camera Product Development Risk
More delays occur because of firmware than hardware when developing IP cameras. The initial software versions reveal integration issues when it is still relatively easy to alter the hardware.
Verifying Device Drivers and Sensor Integration
Bring-up of sensor includes register table, device tree entry, and ISP tuning pathway. Vendor drivers provide coverage for reference configuration rather than the mode, lane configuration, or HDR that your product requires. IP camera prototyping using a functional driver stack will help determine if the sensor gives you consistent frame rates, proper IR-cut control operation, and the actual level of vendor support..
Testing Video Capture, Encoding, and Network Streaming
The prototype must perform the complete sequence – from capture through ISP and then H.264 or H.265 compression all the way through RTSP/ONVIF streaming. Measure glass-to-glass latency, dropped frames, and the stability of bitrates when going from a static scene into a busier scene. Test multiple clients at once. Processor constraints on encoders can lead to adjustments in resolution and frame rate, which is easier to find out here.
Identifying Boot, Memory, and Firmware Stability Issues
Booting time, memory leakage, and watchdog performance only occur after a certain period of usage. Put your prototype machine through multiple cycles of powering on and off, even going as far as shutting down suddenly while writing firmware. Observe heap consumption for multiple days of streaming. It is possible to see if there is flash wear, filesystem corruption, or an incremental leak in a streaming process by testing the camera hardware and firmware simultaneously.
How to Validate an IP Camera Prototype Against Product Requirements
Validation transforms a prototype that works into proof. IP camera prototyping only mitigates risks if each test is derived from a documented requirement with pass and fail criteria.
Measuring Image Quality Under Representative Lighting Conditions
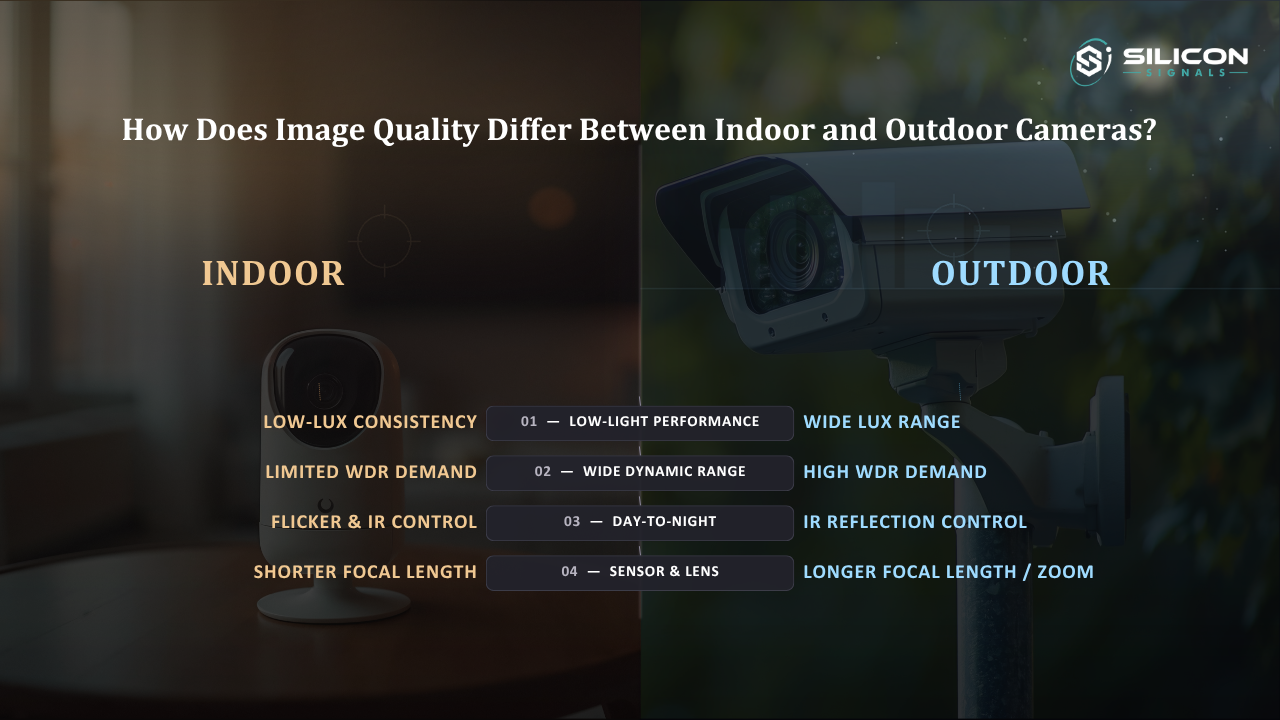
Test under customer-like conditions such as backlighting in entryways, street lighting using sodium lamps, low-light situations including infrared and a combination of indoor lighting. Perform resolution, noise, and color accuracy tests using conventional charts followed by field tests at dawn and dusk. Prototypes of IP cameras should include testing for wide dynamic range scenes with moving objects where ghosting happens. A good performer in a lab test may be a poor performer at a loading dock at 6pm.
Testing Network Performance Under Realistic Traffic Loads
Laboratory networks are usually quiet. In real-world environments, this is far from the case. Put the switches under network congestion with packet loss and multiple clients downloading the stream simultaneously. Observe how the camera performs after losing the network and how much buffered video remains. Assess the load on the camera’s CPU when the camera works with the video management system, the mobile client, and the analytics subscriber simultaneously. This drives IP camera product design choices.
Verifying Reliability During Extended Operation
Keep running units for weeks, not just hours. Temperature cycle from the maximum to minimum ratings within a chamber, introduce humidity, and keep track of all reboots and their causes. Even a small burn-in rack can reveal solder defects, connector wear, and optical misalignment. Hardware development of cameras to this level provides an estimate of the failure rate for IP cameras.
Checking Security Features and Firmware Recovery Mechanisms
Security needs to be proven on hardware. Ensure that there is secure boot, signed firmware updates, unique credentials for the device, and that debug ports are not enabled. Interrupt the update process halfway through and confirm that the unit goes back to a known good state. Scan for ports and do some initial fuzzing of the web and RTSP services. Rules like the EU Cyber Resilience Act have made security a market access problem.
How to Turn a Validated Prototype Into a Production-Ready Design
Validation of the prototype is what the production design process takes as its input, not its output. There have to be closed-out findings, factory testing, and a validated supply chain in place for the handover.
Resolving Prototype Findings Before Design Freeze
Maintain a findings log including severity, owner, and resolution status. Resolve all outstanding issues that have hardware implications during the next board rev and validate them on fresh samples. Do not freeze the design until all outstanding findings do not relate to safety, compliance, or core image quality concerns. The IP camera prototype process is futile if the findings remain in an unrevised report.
Preparing Manufacturing Tests and Quality Acceptance Criteria
It will require testing solutions that will be done within a few seconds like booting check, image check, focusing, aligning, Ethernet connectivity, PoE loading, IR-cut, and key provisioning. The test scripts will be developed from the prototypes. Acceptable defect limits, like the pixel defect limit and shading level limits, will be defined based on golden samples that have been approved by both parties.
Confirming Component Availability Before Production Ramp-Up
Investigate the lead time, last-time buys, and second source for the sensors, processor, memory, and POE controller components before freezing the design. The components usually come with lengthy lead times and minimum order requirements.
When there is no alternative for any particular component, identify the risk and agree on supply arrangements at an early stage. The camera hardware prototypes need to include pin-compatible alternatives to prevent production delays. When there is no alternative for any particular component, identify the risk and agree on supply arrangements at an early stage. The camera hardware prototypes need to include pin-compatible alternatives to prevent production delays. This discipline is especially important for IP cameras and surveillance systems that must remain supported across multiple production batches.
Conclusion
IP camera prototyping provides the engineering team a quantifiable understanding of the sensors, boards, firmware, and networking behaviors while modifications are inexpensive. Teams that treat IP camera hardware prototyping and software testing as one integrated process encounter less surprise during production, and their IP camera development program becomes easier to justify. Silicon Signals is a camera development company which is focused in designing cameras, from prototype all the way to the production ready hardware and firmware.
About the author
Silicon Signals Pvt. Ltd. is an Ahmedabad‑based, global R&D and product engineering firm that specializes in end-to-end embedded solutions—spanning hardware, firmware, OS/BSP, device drivers, and system integration. Trusted across industries like automotive, IoT, wearables, healthcare, and avionics, they excel in Linux, Android, QNX, FreeRTOS, Zephyr, Yocto, and more . As a recognized QNX Channel Partner and Toradex service ally, the company delivers scalable, secure, and certified embedded products—from concept through production.
Comments
Join the discussionNo comments yet. Be the first to comment.